
Requirements for this class are:-
White cardstock approx 5 1/2" square
Colouring methods - I've used distress stains
Tando mask - splats
Black and same contrasting acryllic paint as used last week, I've used a juniper dauber
Versamark pad or equivalent
Clear embossing powder
Bold Swirl stamp
Inka gold
Coloured ink sprays/mini mister filled with reinker and water
1. Take your painted legs from last week and stamp using a bold swirl stamp, the one in the picture is S!r T!m's not sure of the name as it came out of a set, and the versamark pad, heat emboss with clear embossing powder. Stamp and emboss both sides of the legs. A couple of tips at this point - be careful when heat embossing, if you over heat the pattern will disappear into the chipboard and you'll not get the desired effect also the chipboard gets very hot - be careful!

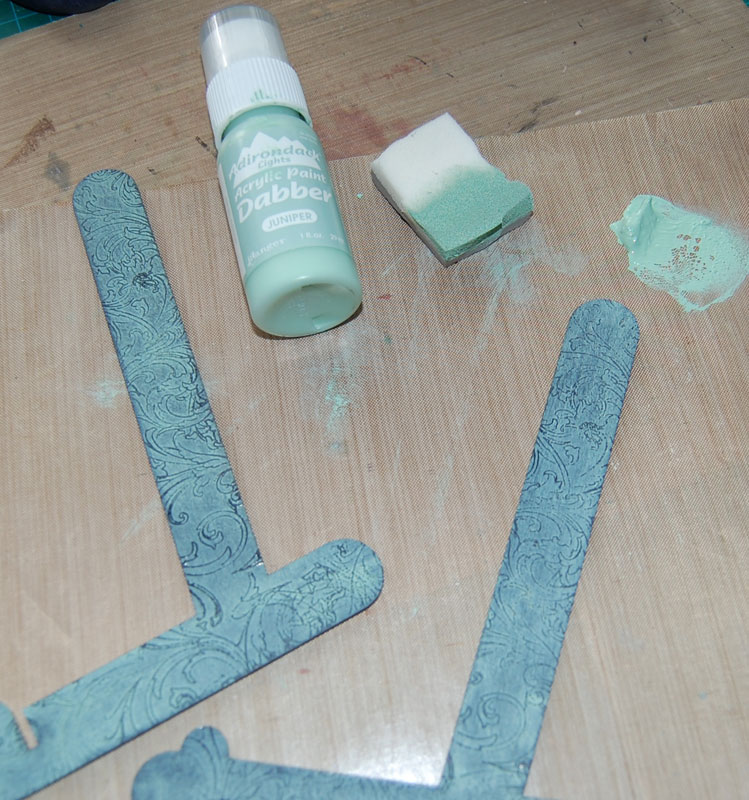
3. To finish off the legs add inka gold to the edges. Don't forget, don't dip your finger into the pot, remove some using a stick (I use acquired!! coffee stirrers!) and dip your finger into that.
NB:- at each stage keep slotting the legs together to ensure that they still fit - should you have a surplus of paint cut out using a craft knife or spatula until legs slot together easily.
4. Take your white cardstock. Swirl distress stains onto a craft mat and add a spritz of water, use pale tones, swipe the cardstock into the stains drying with your heatgun at each swipe, don't worry about total coverage at this stage.
5. Take the Tando mask and place over the stained paper. Dab some stain onto the mat and using cut and dry sponge thro' stencil. Out line shapes with black pen. Using stain (I used the white) prep the end and then drop onto the paper letting splat patterns form.... spritz paper with coloured inks...

The picture shows the products I used to create my back piece.
If you don't have stains you can use distress inks instead - colour the cardstock with a pale colour and spritz with coloured ink or make up your own using a re-inker and water mixed together in a spritzer bottle. Dab with kitchen roll. Place the stencil over and use a darker distress ink to colour....splats can be used by dipping a bottle lid into acryllic paint....
I hope you're having fun.....don't forget if you have any questions just post below and I'll try and answer...
Next week is:-
Embellishments...
xx
Hi,ok ready to start part 2,see you next week for part 3
ReplyDeleteJanet x